

Do you want to know how to install and activate a WordPress Popup plugin free?
Using Popups helps your business website to improve your website’s conversion rates. A WP popup plugin can be an effective tool to engage your visitors and encourage them to take action.
In this guide, we will walk you through four easy steps on how to install and activate a WP popup plugin on your website totally free of cost.
Let’s started
How to Install and Activate a WordPress Popup Plugin
There are plenty of ways to create a WordPress popup plugin. Here you learn the best, easy ways to make WP Plugins for your Website.
In mind, free plugins work this method. Paid is not found on WordPress Repository and couldn’t install like this.
So follow steps:
Step 1: Choose a WordPress Popup Plugin
There are many WordPress popup plugins available in the market, so it’s important to choose the one that meets your needs. Some popular options include:
- Popup Maker
- OptinMonster
- Thrive Leads
- OptinMonster
- Bloom
Step 2: Install the Plugin
Once you have chosen a popup plugin, you can install it like any other WordPress plugin. I will show it with the free WordPress plugin called Popup maker. Here’s how:
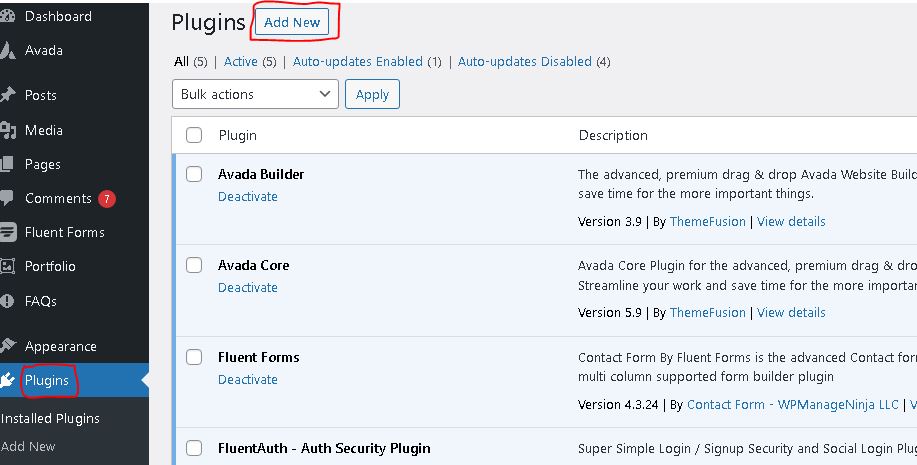
- Log in to your WordPress dashboard.
- Go to the Plugins section and click on “Add New.”
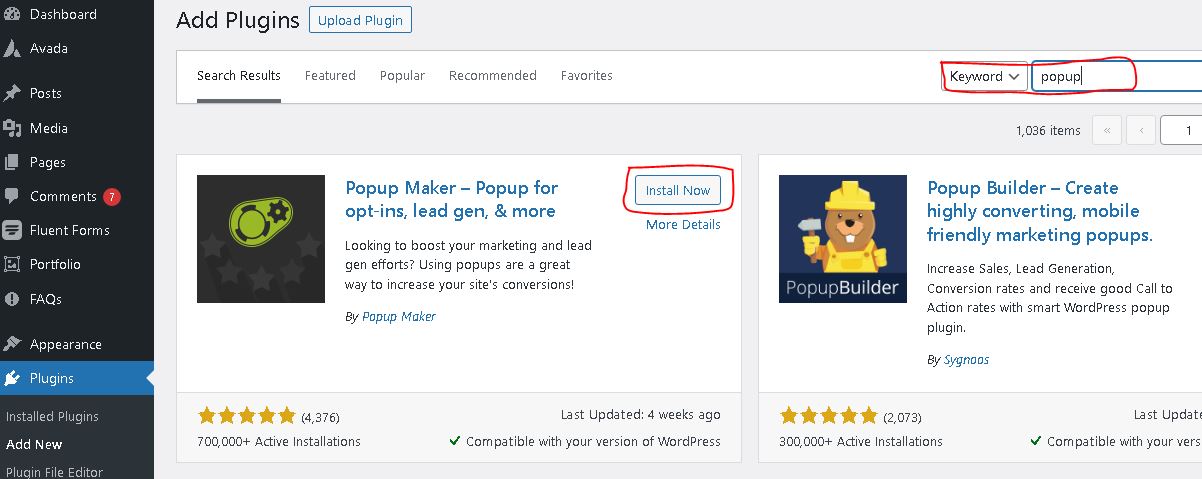
- In the search bar, type the name of the plugin you want to install.
- Click on “Install Now” and wait for the plugin to download and install.
- Once the installation is complete, click on “Activate” to activate the plugin
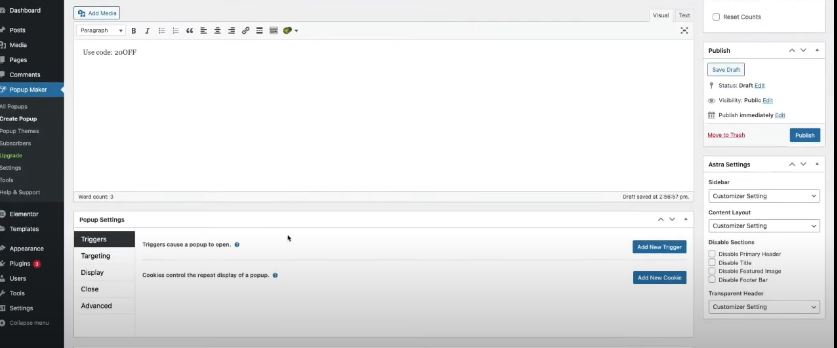
Step 3: Configure the Plugin Settings
Once you have installed and activated the popup plugin, you will need to configure its settings to make it work on your website. The settings may vary depending on the plugin you have chosen, but most WordPress popup plugins offer similar options, such as:
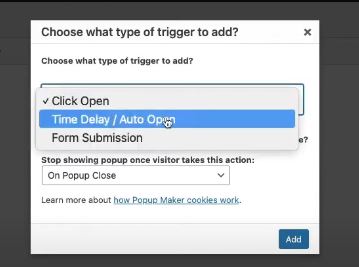
- Popup triggers: Choose when and how the popup should appear on your website. Options include time delay, scrolling, exit-intent, and more.
Time delay:
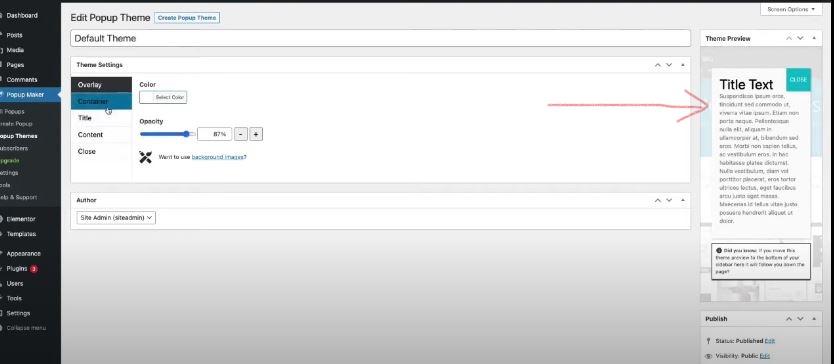
- Popup design: Customize the look and feel of your popup, including the text, color, font, and image.
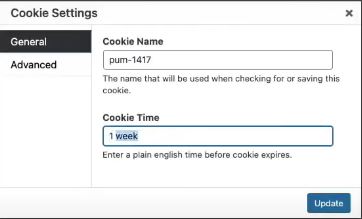
- And obviously setting up your website’s cookie as like name of cookie, duration of cookie, how many times stay in first opened your websites.
- Conversion goals: Set the conversion goal for your popup, such as collecting email addresses, promoting a product, or getting social media shares.
Next and Final steps…
Step 4: Create a WordPress Popup plugin and Publish it:
After you have configured the plugin settings, you can create your first popup. Here’s how:
- In the plugin settings, click on “Create New Popup” or a similar option.
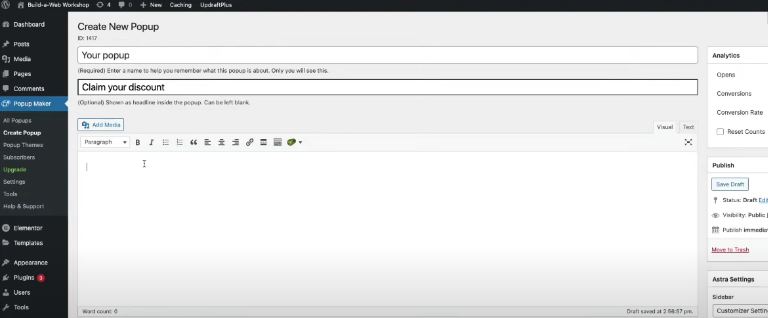
- Choose the type of popup you want to create, such as a lightbox, slide-in, or floating bar.
- Customize the popup design and add your content and conversion goals.
- Preview your popup to ensure it looks and works correctly.
- Click on “Publish” or a similar option to make your popup live on your website.

Conclusion:
Installing, activating and creating a WordPress popup plugin is a simple process that can have a significant impact on your website’s conversion rates. By following the steps outlined in this guide, you can choose a suitable popup plugin, install and activate it, configure its settings, and create your first popup. We hope this guide has been helpful in getting you started with WP popup plugins.
FAQ:
What is the advantage of installing WP Popup Plugin?
Leave A Comment